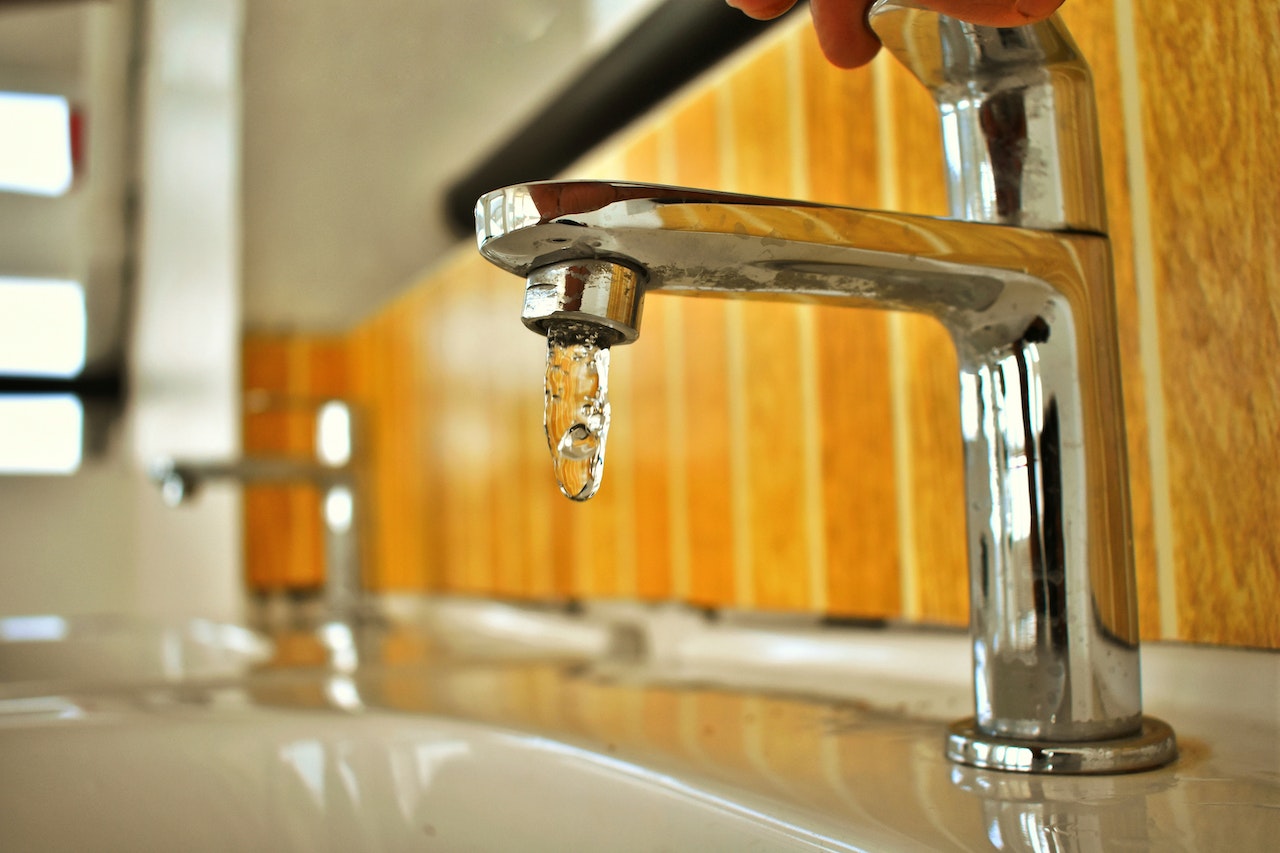
A dripping faucet is a universally frustrating issue that wastes water and money – not to mention how irritating that dripping sound can be.
As a plumbing problem, it can be pretty straightforward to deal with. You can even learn to do it yourself if you haven’t already, as it requires a desire to learn and some free time.
However, realizing there are different types of faucets with different parts and components can be intimidating, especially when you’re a total beginner. Fret not, for it is surely not that hard to go about fixing these types of issues.
There’s no shame in calling a qualified plumber to fix the dripping faucet, but chances are, this guide is all you’ll need to take it on yourself.
What causes a faucet to drip
Faucets consist of varying parts, all with their own lifespan and tolerance. It should be well-maintained to function like a well-oiled machine. This means that the seals are tight, the parts are undamaged, and the output is as expected.
Over time, however, parts do wear down, and the common sealing device, the O-ring, just isn’t that good at sealing anymore.
In our homes, we usually have compression, disc, cartridge, or ball faucets. Some parts are shared between them, while others are unique to each one.
Below we’ll break everything down and note what needs to be replaced or how to fix them so we can eliminate that incessant dripping.
How do you fix a dripping faucet
We’ll start with what you need to do, regardless of the type of faucet.
Here is what you need to do:
- Shutoff the faucet or sink’s water valve;
- Plug the drain or lay out a towel in the sink to catch falling parts;
- Take some pictures to take stock of the parts when disassembling.
How to fix: a cartridge faucet
The most common type out there is the cartridge faucet. Considered the easiest to repair, this kind is popular in modern plumbing, and its spare parts are widely available at almost any hardware store. They work via a cartridge that controls the water flow.
Here’s how to fix it:
- Detach or unscrew the decorative cap on the handle. Be gentle if you need to pry it off. Then, proceed to remove the handle. Now that you see it, gently remove the cartridge – use pliers if needed. If it’s stuck, opt for a cartridge puller. It’s a specialised tool that perfectly fits over it and applies pressure from all sides, making it easier to pull out without resistance or damaging surrounding parts.
- Check the cartridge for signs of wear. If you see cracks or tears, you must replace them. If it looks fine, apply some plumber’s grease on the O-ring, which should be on the cartridge. Place the cartridge with proper alignment and reassemble the faucet.
How to fix: a compression faucet
Until recently, they were everywhere.
However, as technology and plumbing improved, they lost the top position on the market to cartridge faucets. They’re generally more finicky to repair, but their parts are still easily found.
Compression faucets use washers to control water flow. These washers are mostly either rubber or their synthetic counterpart, neoprene.
Let’s get to fixing it:
- Unscrew the faucet handle to expose the valve stem, then loosen the packing nut with a wrench. Loosen the valve stem with a wrench and check if the washer is worn-out.
- If it is, then replace it. Make sure the new one is the exact same size. Take the original part with you to the store to avoid any confusion. Apply the plumber’s grease on the O-ring for good measure. Put everything back together.
How to fix: a ceramic-disk faucet
Disk faucets are easy to repair as their parts are also widely available. They don’t require much maintenance over time and offer a lengthy lifespan.
They use a ceramic disc to control water flow. Disc faucets are relatively newer in terms of plumbing history but have grown to be popular.
Fixing them involves the following:
- Unscrew to remove the handle. Next, remove the escutcheon cap over the disk. Escutcheon caps are decorative caps or plates that usually prevent leaking while going along with the aesthetic of the faucet above it.
- Unscrew to remove the disk in question. Gently pry it if it’s stuck. Inspect the disk for signs of wear. As always, if damaged, then replace it. Hit the O-ring with some plumber’s grease before placing the disk with proper alignment. Now reassemble the faucet.
How to fix: a ball faucet
Finally, this kind isn’t as popular because it is generally rather difficult to repair. It contains several parts, and assembling and disassembling them can be time-consuming. Ball faucets use a rotating ball to control the water flow.
If you are a total beginner when it comes to these kinds of repairs, save yourself time and trouble by calling an expert plumber.
If you feel confident that you can handle it, read on how to do it yourself:
- Remove the handle with an Allen wrench or screwdriver. You’ll immediately find a dome-shaped cam which you’ll need to remove as well. Be careful when unscrewing; try to get a feel of the orientation to avoid breaking it. If it doesn’t budge, check out the cam removal specialised tool, which fits over the faucet and grips the notches of the cam, much like the cartridge removal tool.
- You’ll find the famous O-ring and some springs which you’ll need to check for signs of wear. If damaged, get the same type of everything and replace it. Ensure you put it all back together with the right alignment.
Conclusion
Congratulations, you learned about faucet types, and that’s more than most people usually are willing to learn. You now have more insight about how to go about fixing them.
Depending on the type of faucet leaking, you can either attempt to repair the issue yourself or call a licensed plumber instead.
Regardless, your newfound knowledge also means you have an idea of what faucets to buy for yourself or recommend to others.